Beauty Shower

Installation Instructions

INSTRUCTIONS PDF DOWNLOAD

We have made a PDF of the Beauty Shower by Fusion Technologies Installation Instructions for you to easily download and reference, simply click the link.

Beauty Shower by Fusion Technologies - What is in the kit

Adjustable Shower Head
150cm Double Braided Shower Hose
150cm Double Braided Hose
Shower Filter
Shower Filter
Shower Filter Housing
Wall Bracket
Wall Bracket
Wall Backing Plate
Wall Backing Plate

Multi Function Hand Shower Set

  • Beauty Shower filter housing and cartridge
  • Multi Function shower head with stainless finish
  • Adjustable wall bracket
  • 1.5m double braided SS shower hose
  • Easy to install, no drilling required

Maintenance and Cleaning

  • Never use abrasives to clean this product
  • Clean regularly with warm soapy water

comprehensive 1 year warranty

Beauty Shower by Fusion Technologies come with a comprehensive 1 year warranty.
Used replaceable cartridges excluded.

Pre-Installation Alerts

Tools required – Adjustable Spanner
Note: Mains water supply can remain on during shower installation.

CROSS THREADING

Ensure connections are never cross threaded during installation, (cross threading shower fittings will result in water leakage from fitting).

WASHERS / O-RINGS

All metal fittings require the use of washers (provided), the shower filter includes an O ring. Failure to do so may result in water leakage where washer is not fitted or fitted incorrectly. Washers must sit flush to form an effective seal. Lubricant (petroleum jelly) may be used to ensure washers do not move during installation.

THREAD TAPE

Thread tape is supplied. Use sparingly where required.

HAND TIGHTEN

Unless otherwise stated hand tighten all fittings. The use of a spanner may be required where hand tightening is not sufficient to form a positive seal between fittings.

Shower and Shower Filter Installation

  • Step 1

    Unscrew existing shower from wall. (anti-clockwise direction)

  • Step 2

    Remove any old thread tape from exposed wall thread.

  • Step 3

    In a clockwise direction wind thread tape onto exposed thread up to 10 times. Maintain pressure applying tape.

  • Step 4

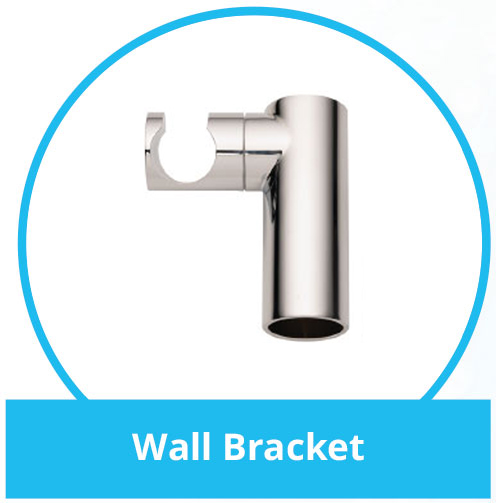
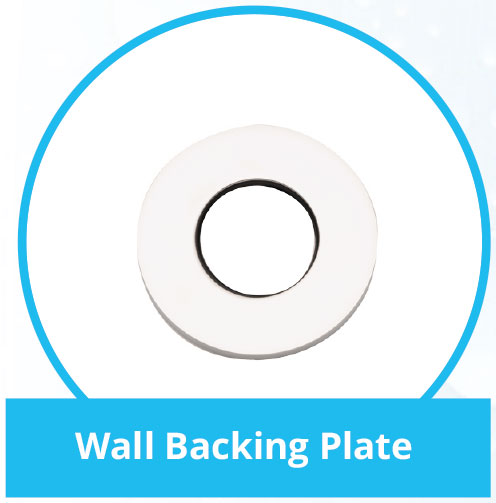
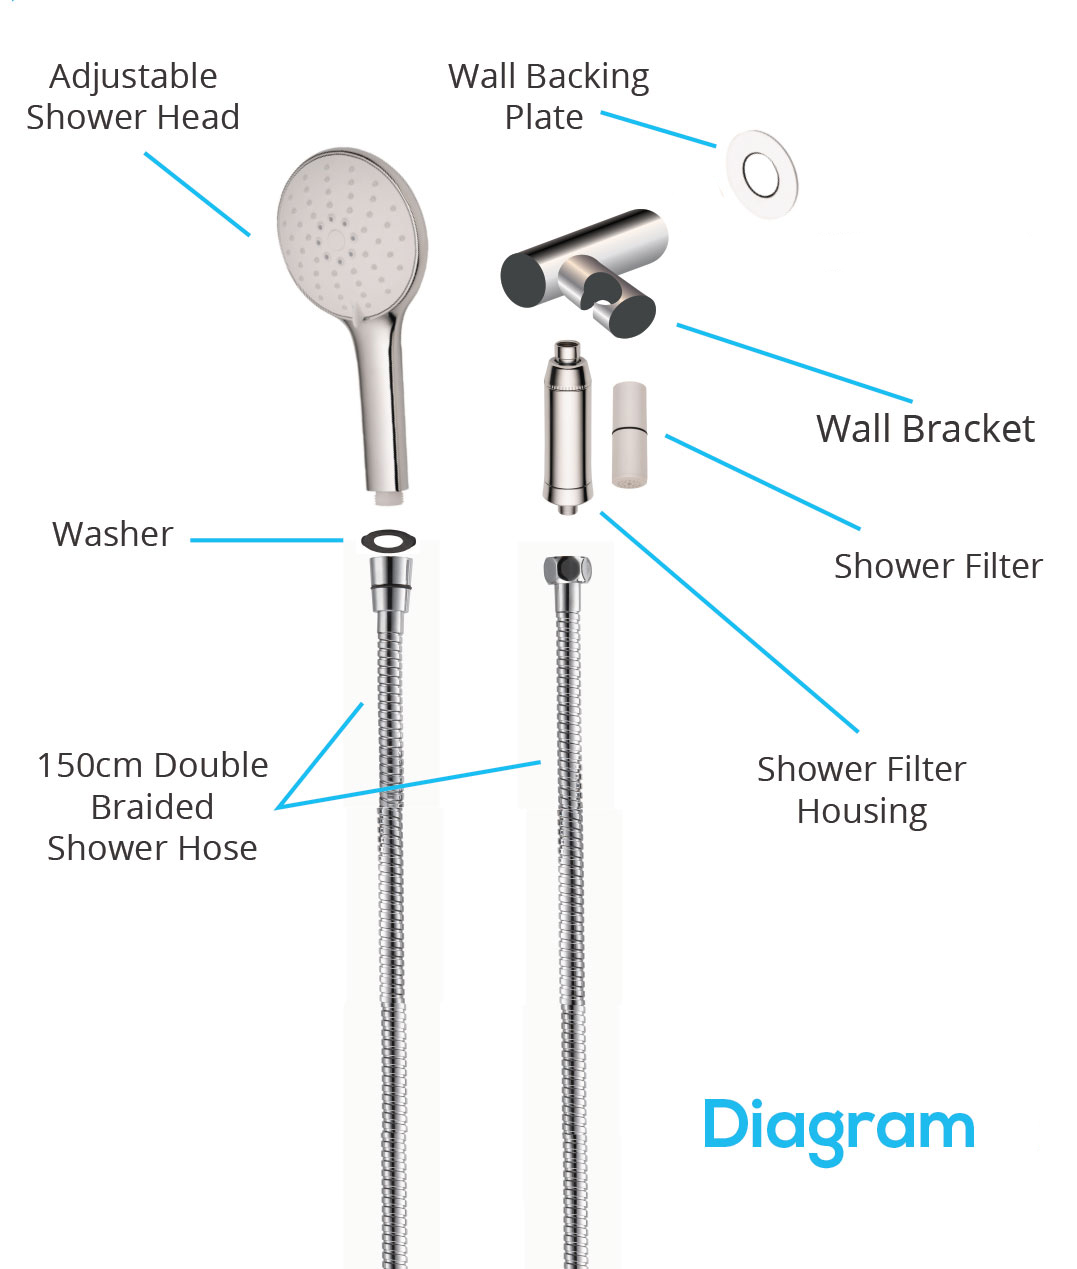
    Place chrome backing plate on wall bracket then screw to wall, hand tighten only. IMPORTANT: The bracket must be positioned in a horizontal direction (male thread facing floor of the shower).

  • Step 5

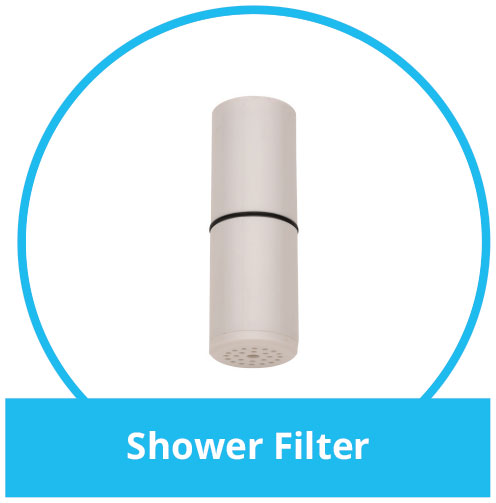
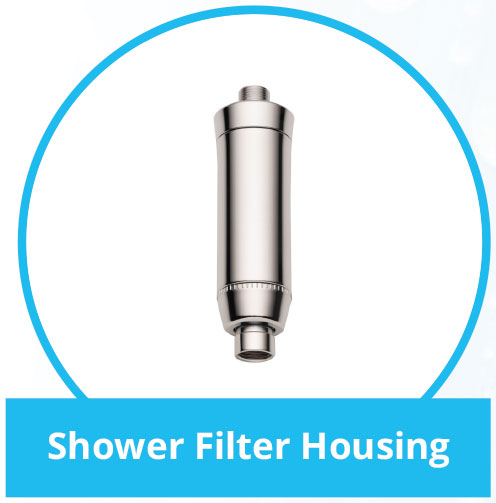
    Connect shower filter to the male thread of bracket. Ensure washer Is placed in the pivot end, hand tighten.

  • Step 6

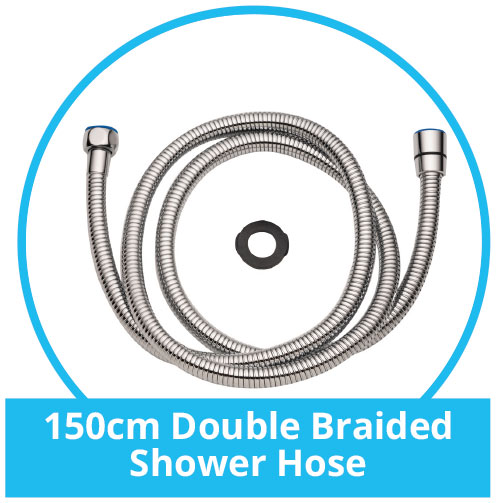
    Connect shower hose (hexagon shaped end) to shower filter.

  • Step 7

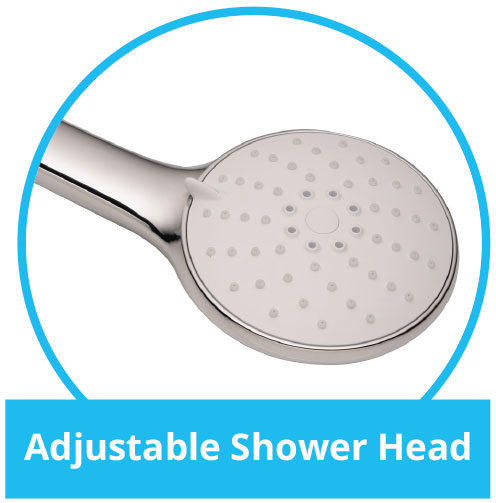
    Connect shower head to hose (conical end of hose).

  • Step 8

    Test the shower installation (see below) and if no leaks, flush shower filter (cold water) for 2-3 minutes prior to first use.

Diagram

Testing Shower Installation

Turn cold water on and run for a minute. This will swell washers to seal system. Check for any leaks. If you find a leak:

  • Turn shower off.
  • Tighten leaking joint gently (place adjustable spanner and tighten a half turn).

SETTING UP & Installing THE FUSION SHOWER

Industry Hints

Gravity Fed Showers: Where water pressure is less than 150kpa (outlet) the installation of any water saving shower may affect performance of instantaneous water heaters, thermostatic mixing valves and some tempering valves.

High Water Pressure Areas: Where water pressure exceeds 500kpa a pressure limiting device should be installed. Otherwise hose warranty will be voidable.

This product is manufactured for domestic use only.

Ensure hose is installed correctly. Incorrect installation may force outer hose to pinch inner tube and lead to failures. Such damage is easily recognized and not covered by warranty.

ALWAYS consult a licensed plumber if in any doubt regarding the installation.

Watermark Certified

CERTIFICATE No: GM-WM-040219-101-R02
AS/NZS 3662:2005

Shower Filter Replacement

We recommend shower filter cartridge be replaced every 6 months or when a significant water pressure drop from the shower is noticed, whichever occurs first. Filter life expectancy will vary depending on pre-existing pipe work condition and age, locality and local TDS levels.

Beauty Shower by Fusion Technologies

To Change Cartridge

  • Disconnect filter housing from system.
  • Unscrew filter housing (wider end), remove filter cartridge.
  • Insert new filter cartridge and screw tight shower filter housing.
  • Shower filter o-rings / washers must sit flush within the shower filter.
  • Reconnect shower filter to system.
  • Flush shower filter (cold water) for 2-3 minutes prior to first use.